

My favorite craft supply is Mod Podge. I think I can do just about anything with it. I recently painted my daughter's room...and when I removed the light switch cover, I noticed it was cracked (not by us..who ever lived here before us did it). Anyway...I could not allow such a beautiful paint job to be tainted by an ugly switch cover...and with only one income I don't really want to spend $5-$10 on a designer one. So I broke out my scrapbooking paper, mod podge, and a few embellishments.
Items you will need:
- Cutting mat
- Xacto knife or paper slicer
- Ruler
- Pencil
- Mod podge
- sponge applicator brush
- paper (any kind will do, I used scrapbook paper, but you can use tissue paper, wrapping paper, or even a photo)
- embellishments (I used a chip board saying and small jewels)
- Brayer
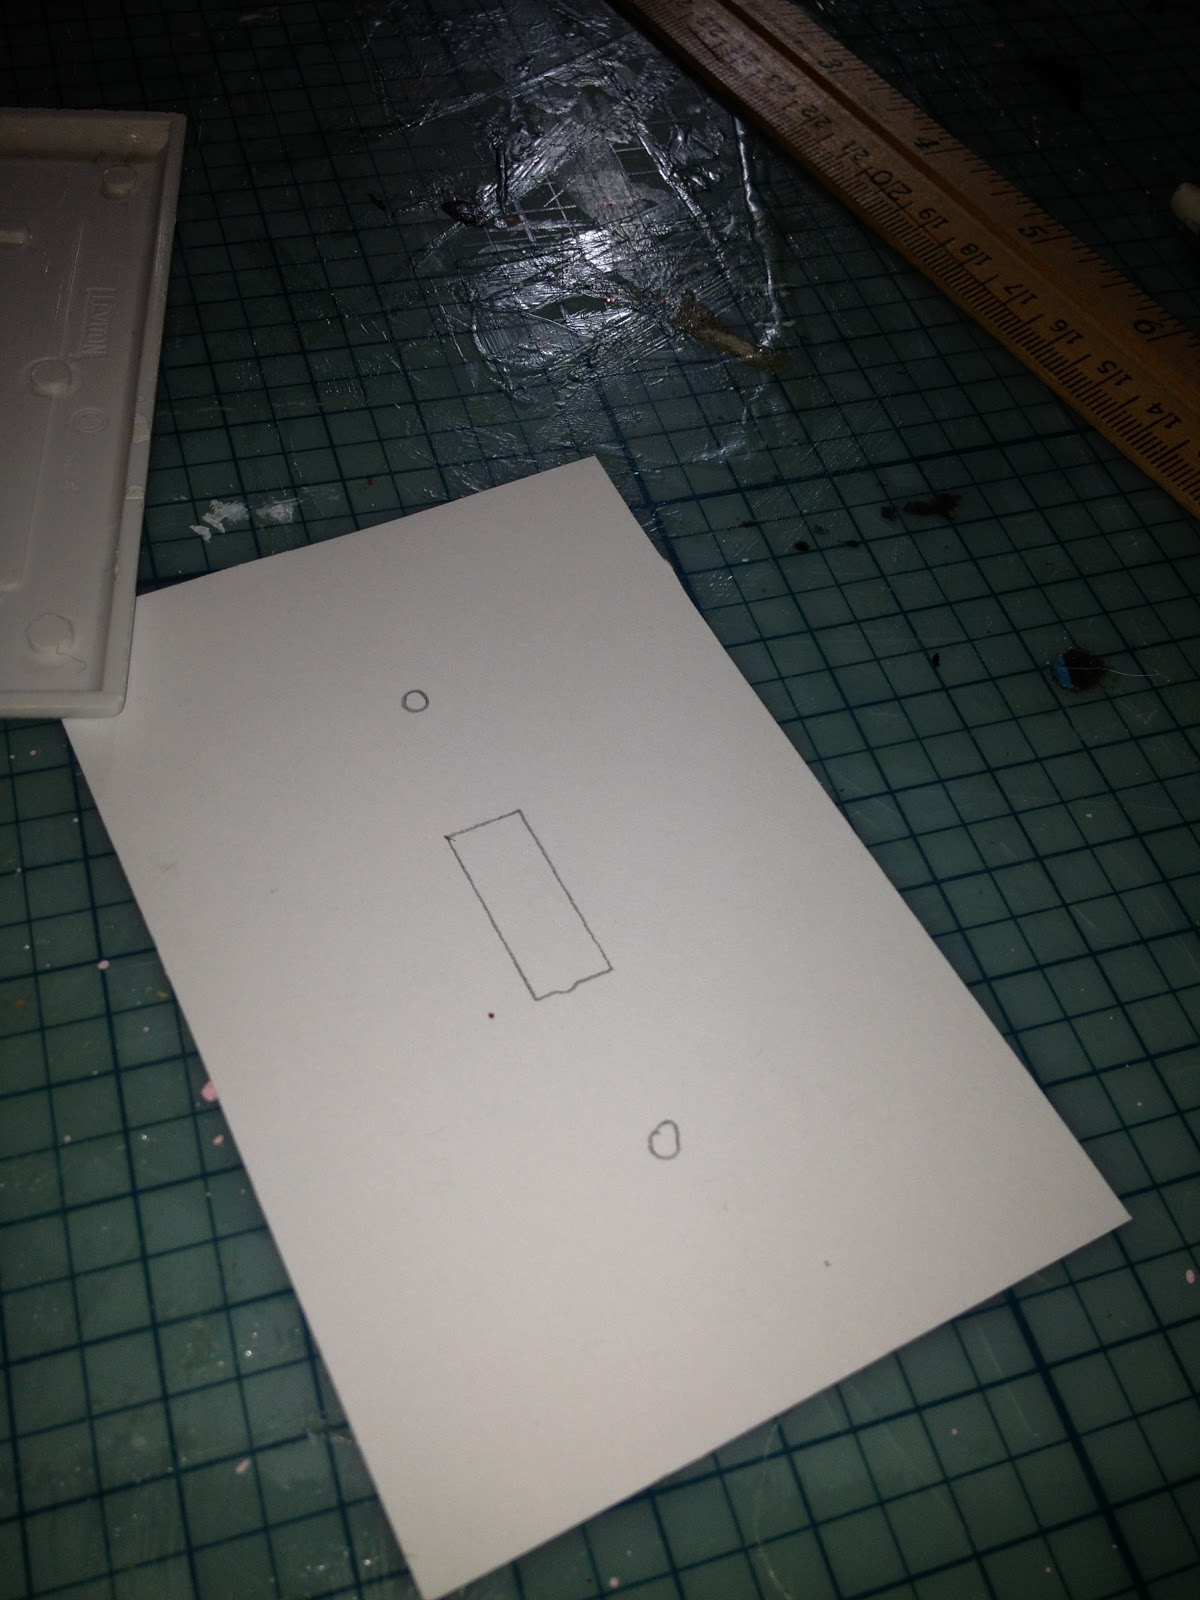
Remove the switch cover from the wall. Using a pencil, outline the cover onto the back of your paper, including the cut out for the switch and screws. Use the Xacto knife and ruler to carefully cut your paper. Dip yor sponge applicator in the mod podge and apply a layer to the front of the switch cover and the back of the paper. Place your paper on the switch cover and align. Press the paper down then use a brayer to roll out all the bubbles. If you don't have a brayer, you can use a popsicle stick. Apply 2 more coats of mod podge onto the paper and stick on any embellishments. Allow to dry completely then spray with a light coat of polyurethane. The mod podge sometimes stays tacky, and the spray will keep that from happening.

No comments:
Post a Comment
Constructive suggestions are fine...but please be respectful and do not post negative stuff on here. I am encouraging a positive atmosphere for other stay at home parents.