I've made these for family, for babies, for kids...but this is my first wedding memory box. I really loved making it, and I think it turned out really well. It makes a great gift for keeping all those wedding mementos and special things for years to come.
I start with a wood photo box that I get from Micheal's...but I'm sure other craft stores have them as well. You can use a cardboard box as well...but the wood is much stronger and won't get crushed.
I remove the metal piece on the front (where you can slide in a tag)...makes it easier to decorate. Then I sand the entire thing, inside and out. Next I paint a few coats of paint in areas that I am not going to cover with paper. On this one, I painted the inside....but sometimes I paint the outside too.
For this one I covered the entire lid with one piece of scrap book paper. To do this, I cover the lid with Mod Podge using a sponge applicator. I prefer the sponge to a brush because I don't like brush marks. Then I put a layer of Mod Podge on the paper I am using.
Place the paper on the lid and smooth it down with a brayer. Then also smooth down the sides. The brayer smooths out any bubbles that pop up. And don't worry if you get Mod Podge on your brayer. It washes off easily with warm water.
Next I seal the lid with a coat of Mod Podge on top of the paper.
For the sides of the box bottom, I chose another scrapbook paper design. I had to measure and cut the paper, then using the same technique as the lid, glue the paper on and seal it.
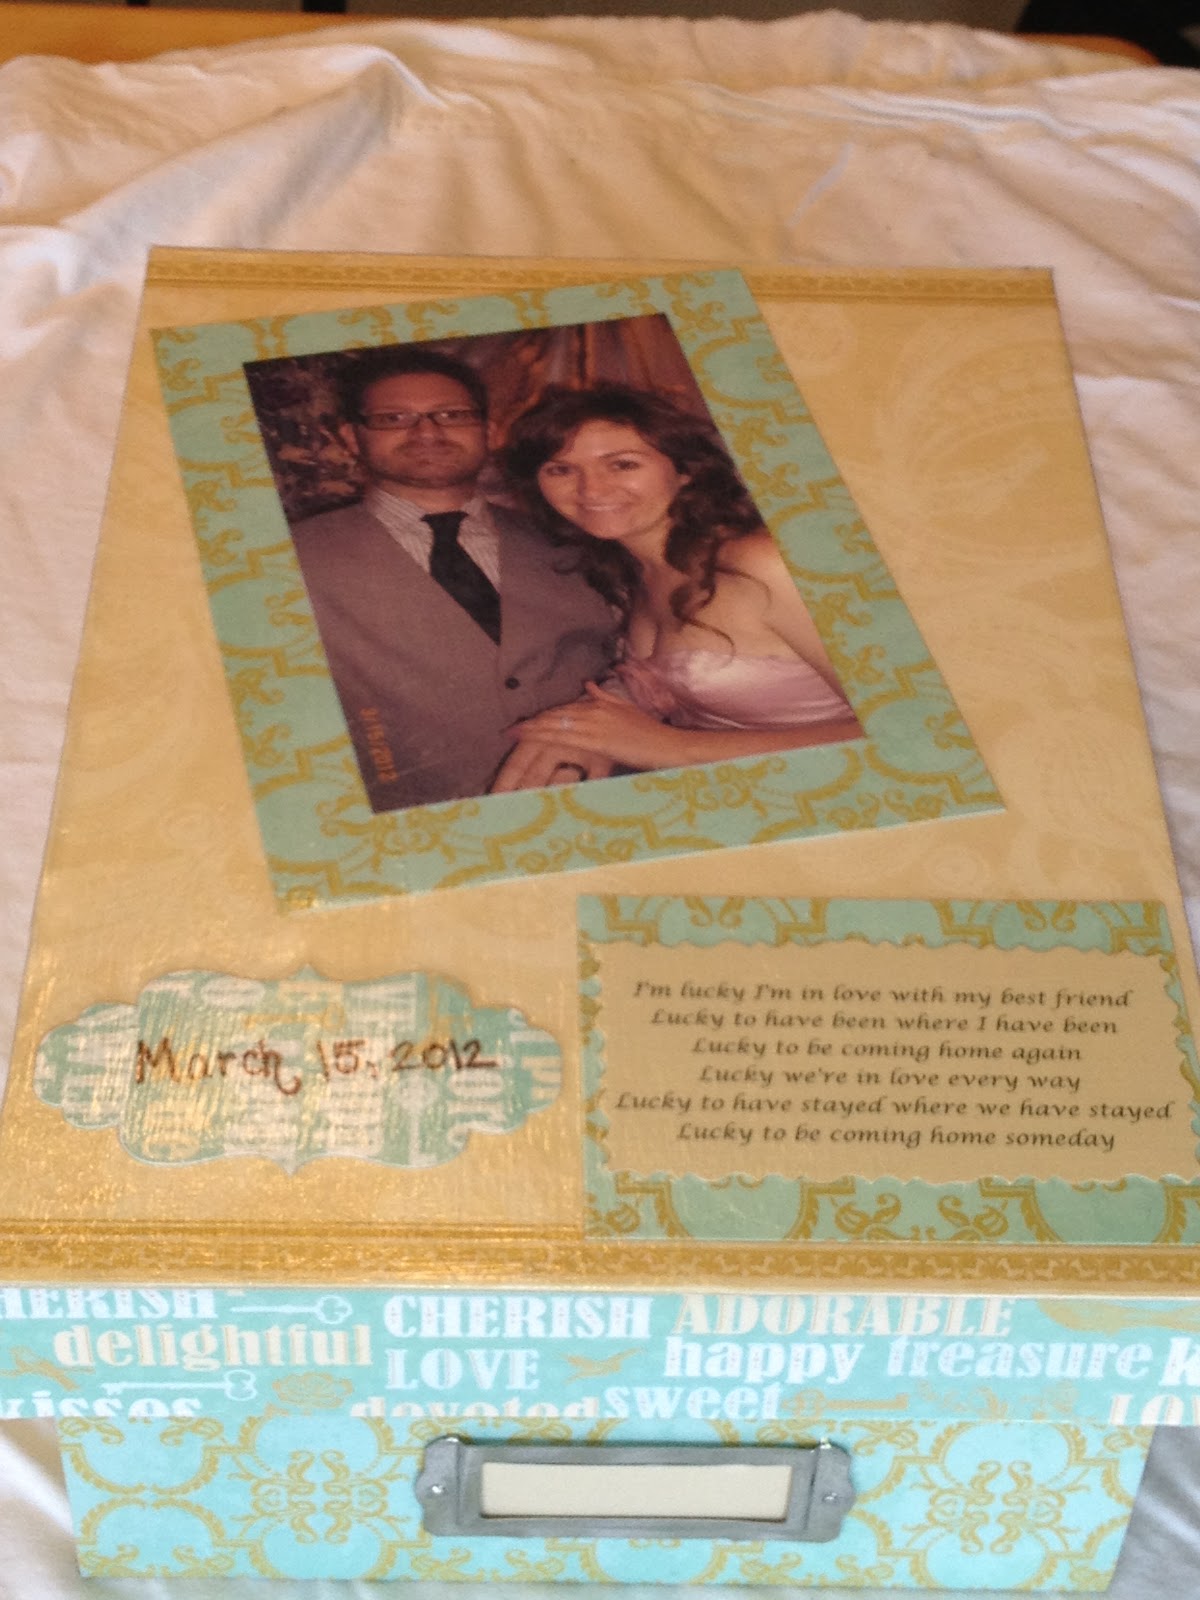
Now I add the personal touches. On the lid, I add the couple's wedding photo, a tag with their wedding date, and the chorus from their song. On the sides of the lid, I add their first names on one side, and their last name on the other. I give it another 2 or three coats of Mod Podge over the entire box.
Then on the inside, I add one more picture (their engagement party) and give the inside a couple coats of Mod Podge as well. I allow the Mod Podge to dry for a couple days, and then spray it with polyurethane. This will take away the tackiness that can sometimes happen with Mod Podge. Ideally, its best to wait a few weeks before placing the lid on the box. This will ensure the Mod Podge has completely set and the lid won't get stuck (trust me...I have gotten a few stuck and it ruins your work). The last thing to do is add the metal piece back onto the front. And...done!


No comments:
Post a Comment
Constructive suggestions are fine...but please be respectful and do not post negative stuff on here. I am encouraging a positive atmosphere for other stay at home parents.